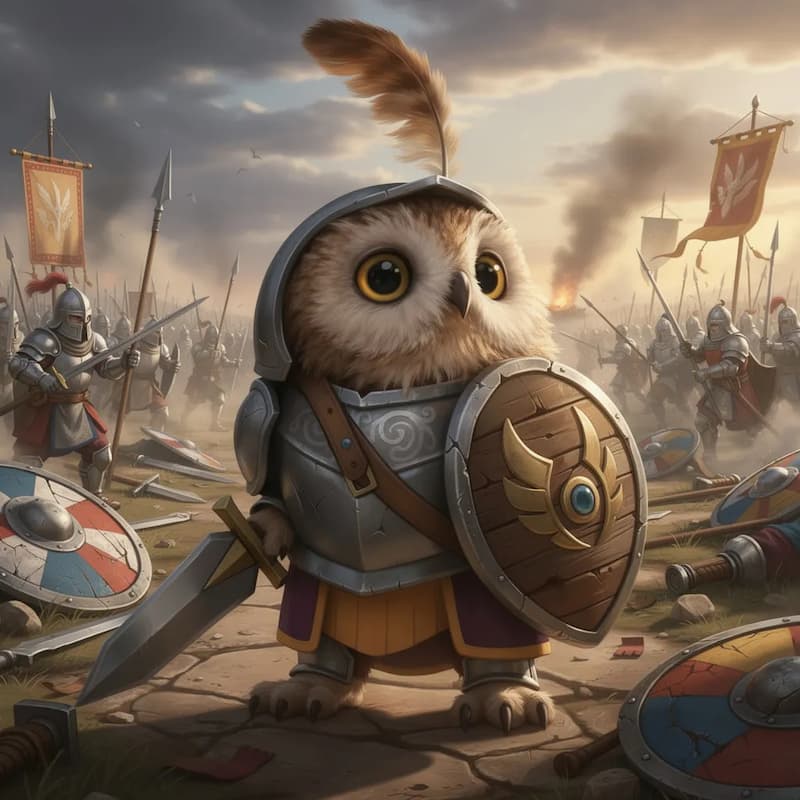
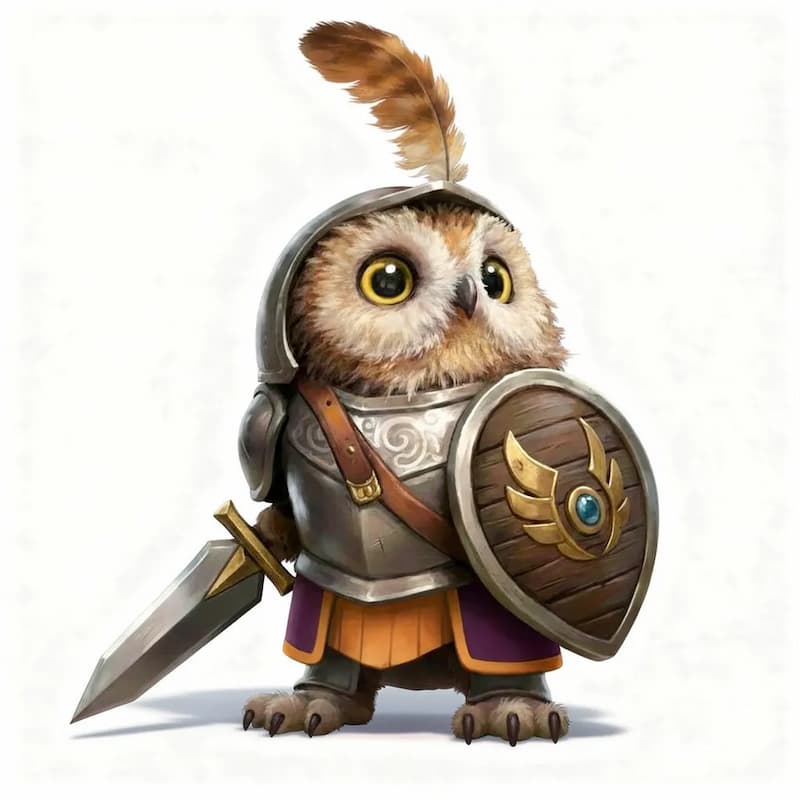
Image
AI Image Editor
The Ultimate Prep Station for 3D Generation. Refine, Correct, and Enhance Before You Generate.
How to Use
Upload or Start Blank
Upload a photo to fix, or leave empty to generate from text.
Input Instructions
Describe changes: 'Make it front view', 'Remove background', etc.
Download & Generate
Save your optimized image and send it to the 3D generator.
Powerful Use Cases
We have designed specific workflows to solve common Image-to-3D problems.
Perspective & Pose Correction
Give the AI the best angle to work with.

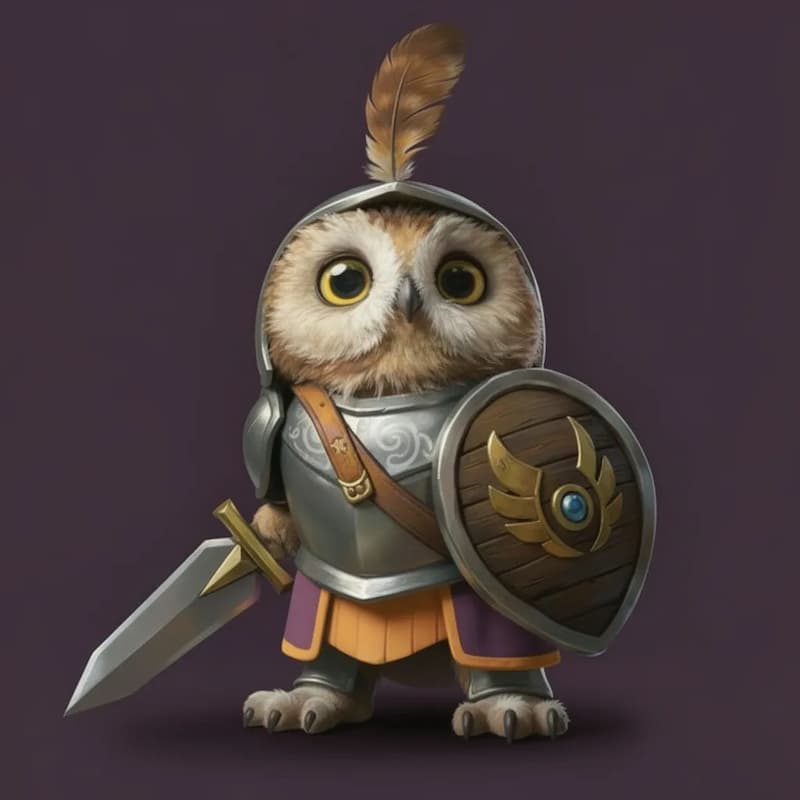
Front-facing Alignment
Rotate side views or high-angle shots to a standard front view. Ensures symmetry and prevents facial distortion.

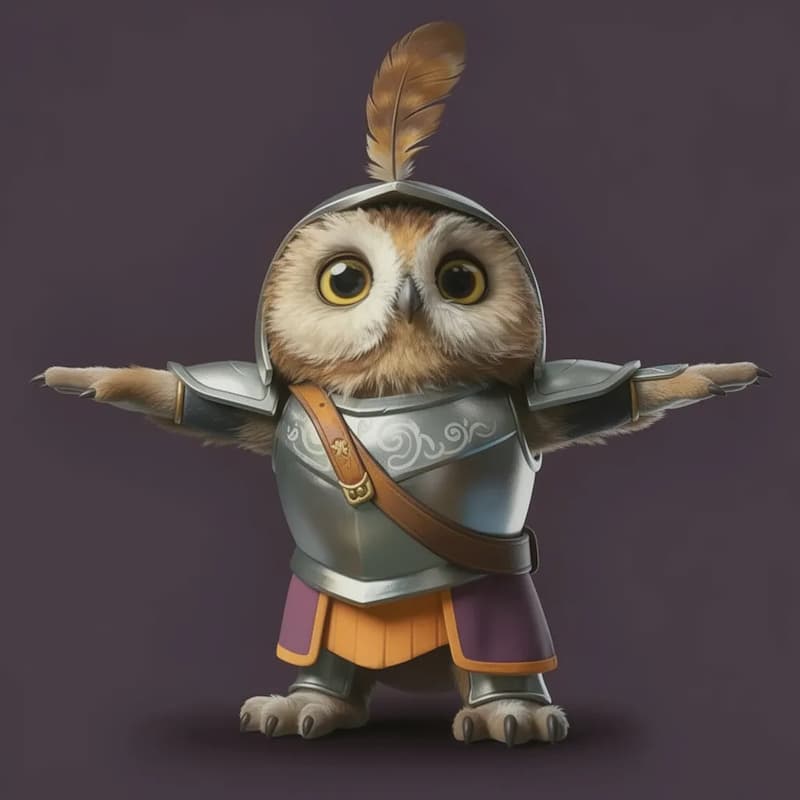
Pose Reset (T-Pose)
Transform crossed arms or hidden hands into a rigging-ready T-Pose or A-Pose.
Lighting & Material Prep
Define the shape and texture before you build it.
Volumetric Depth
Add realistic shading and ambient occlusion to flat images to help the AI understand volume.

Texture Sharpening
Enhance low-resolution inputs to reveal fine details like fabric weave or metal scratches.
Content Completion & Cleanup
Fix missing pieces and remove noise.
Smart Uncrop
Regenerate cut-off limbs (like feet) or edges to ensure complete geometry.

Obstruction Removal
Erase objects blocking your subject (e.g., a cup, a passerby) and fill the background.
Background Purification
Replace noisy backgrounds with a clean solid color to help AI focus on the silhouette.
Creative Variation
Iterate on ideas instantly.
Text-to-Image
Don't have a reference? Describe what you see in your mind to generate a concept from scratch.
Material Swap
Change materials instantly (e.g., leather to velvet) to test design concepts.

Recoloring
Adjust color palettes or art styles (e.g., photorealistic to cel-shaded).
Pro Tips for Better 3D Models
Contrast is Key
Ensure your subject is well-separated from the background. Use the 'Background Purification' tool if the edges are blurry.
Avoid Extreme Foreshortening
Photos taken with a wide-angle lens can distort proportions. Use the editor to correct perspective to look more orthographic.
Resolution Matters
Always use the 'Texture Sharpening' feature on images smaller than 1024x1024 to guarantee a sharp 3D texture map.
Symmetry Saves Time
For characters and vehicles, use the 'Front-facing Alignment' tool. Symmetrical inputs generate the most stable 3D meshes.
What is the AI Image Editor?
The AI Image Editor is a specialized pre-processing tool embedded directly in our platform. It serves as the bridge between your raw ideas (or imperfect photos) and our high-quality 3D generation engine.
Powered by advanced generative models, this editor doesn't just "filter" pixels—it understands context. It knows what a human arm looks like when creating a T-pose, and it understands how light interacts with shapes when adding volumetric depth.
It allows users to perform complex edits—such as changing camera angles, removing objects, or extending borders—via simple text commands or brush strokes. This eliminates the need for expensive external software just to prepare an image.