Face Count
Base Generator Guidance
Seamless 2D to 3D Conversion Steps
Upload Source Image
Upload your 2D image. For the best quality, use a high-definition, sharp photo with a clear front-facing view.
Start Conversion
Click to generate your model. We recommend using the default settings for your first attempt.
Download 3D Model
Preview and save your result. The system supports export in STL, OBJ, and GLB formats.
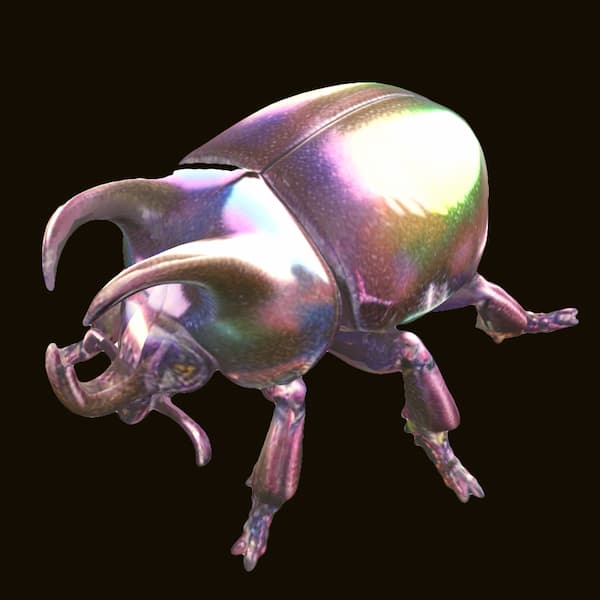
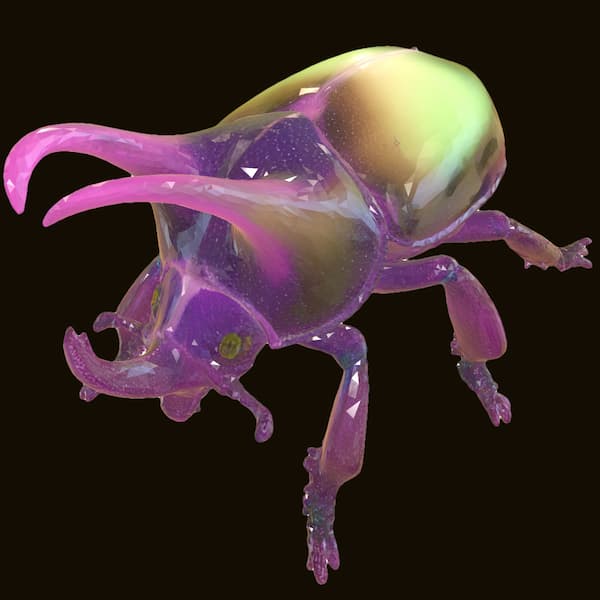
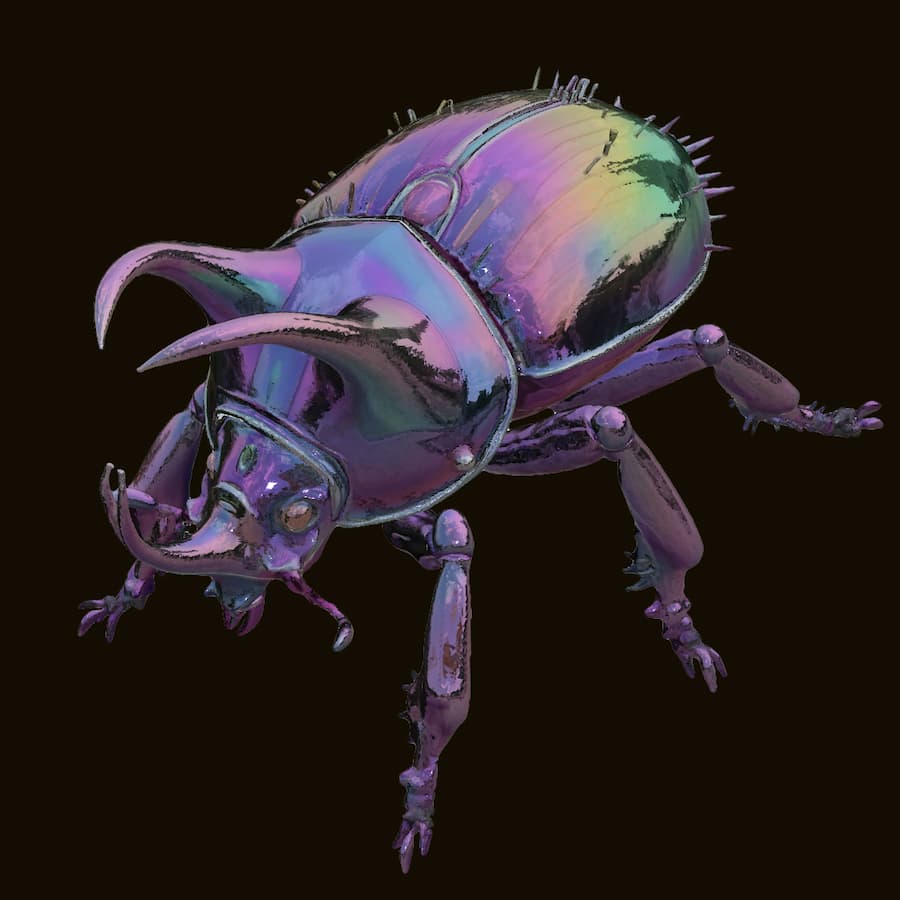
Example of Model Generation
Click on the examples to the right to see what our 3D Model Generator can create from 2D images.


How to Achieve Best Results
Start Simple: Begin with easily recognizable objects (e.g., an apple, a car, a piece of furniture) to understand the model's behavior.
Use High-Quality Inputs: Blurry or low-resolution reference images will produce poor 3D results. Sharpness is key!
Experiment Iteratively: Use the default settings first, then adjust one setting at a time (e.g., Steps or Octree Resolution) to understand its impact.
Avoid Flat Illustrations: 2D images without depth cues often result in distorted 3D models. Use the contrast below as a guide.
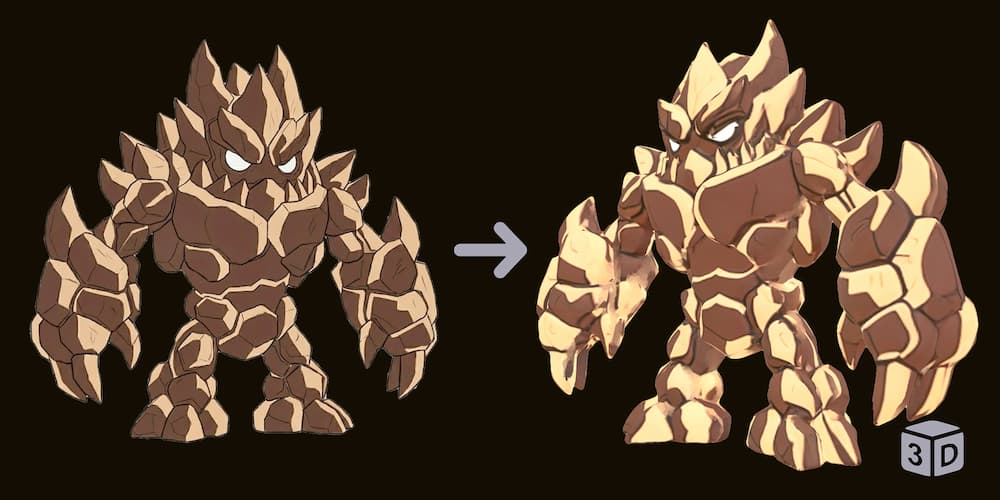
Problem Example
Flat 2D cartoons lack depth info, causing broken geometry.
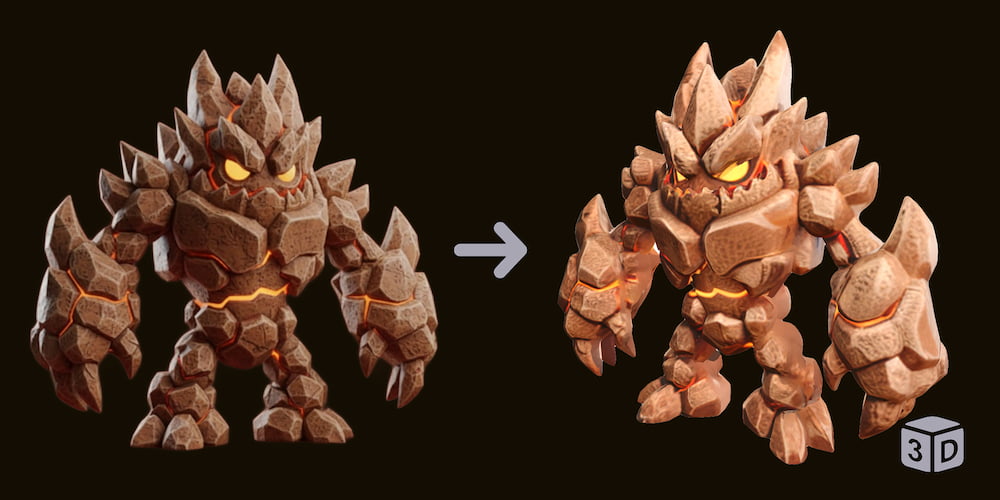
Use Style Transformer First
Images with shading and light render accurate 3D shapes.
Choose the Right Generator
Base
Base is suitable for generating simple 3D models, such as educational examples. It prioritizes speed and obtaining a 3D result at a lower cost.
Pro
Pro offers slightly better modeling quality and a more thorough understanding of lighting. This results in better textures than the Base model. It is also designed for speed and lower point cost.
Ultra
Ultra is a brand-new, high-fidelity model capable of generating highly realistic textures and accurately recreating very complex models, offering the highest quality.
Advanced 3D Conversion Settings
Sampling Steps
Controls the number of diffusion iterations. Higher values generally improve structural stability and quality but increase generation time.
Detail Granularity (Chunks)
Splits the input into smaller segments for processing. Higher values yield finer surface details but significantly increase GPU memory usage.
Octree Resolution
Defines the volumetric resolution for reconstruction. Higher values capture sharper geometric features from the original image.
Target Face Count
Sets the target polygon count for the final mesh. Higher counts result in smoother models, while lower counts are optimized for performance.